
Today I made two small bolsters,
they are easy to make and I took a few
pictures to show you how I made them.

I used satin cotton material and took the
circumference from a container I thought to be
the right size.

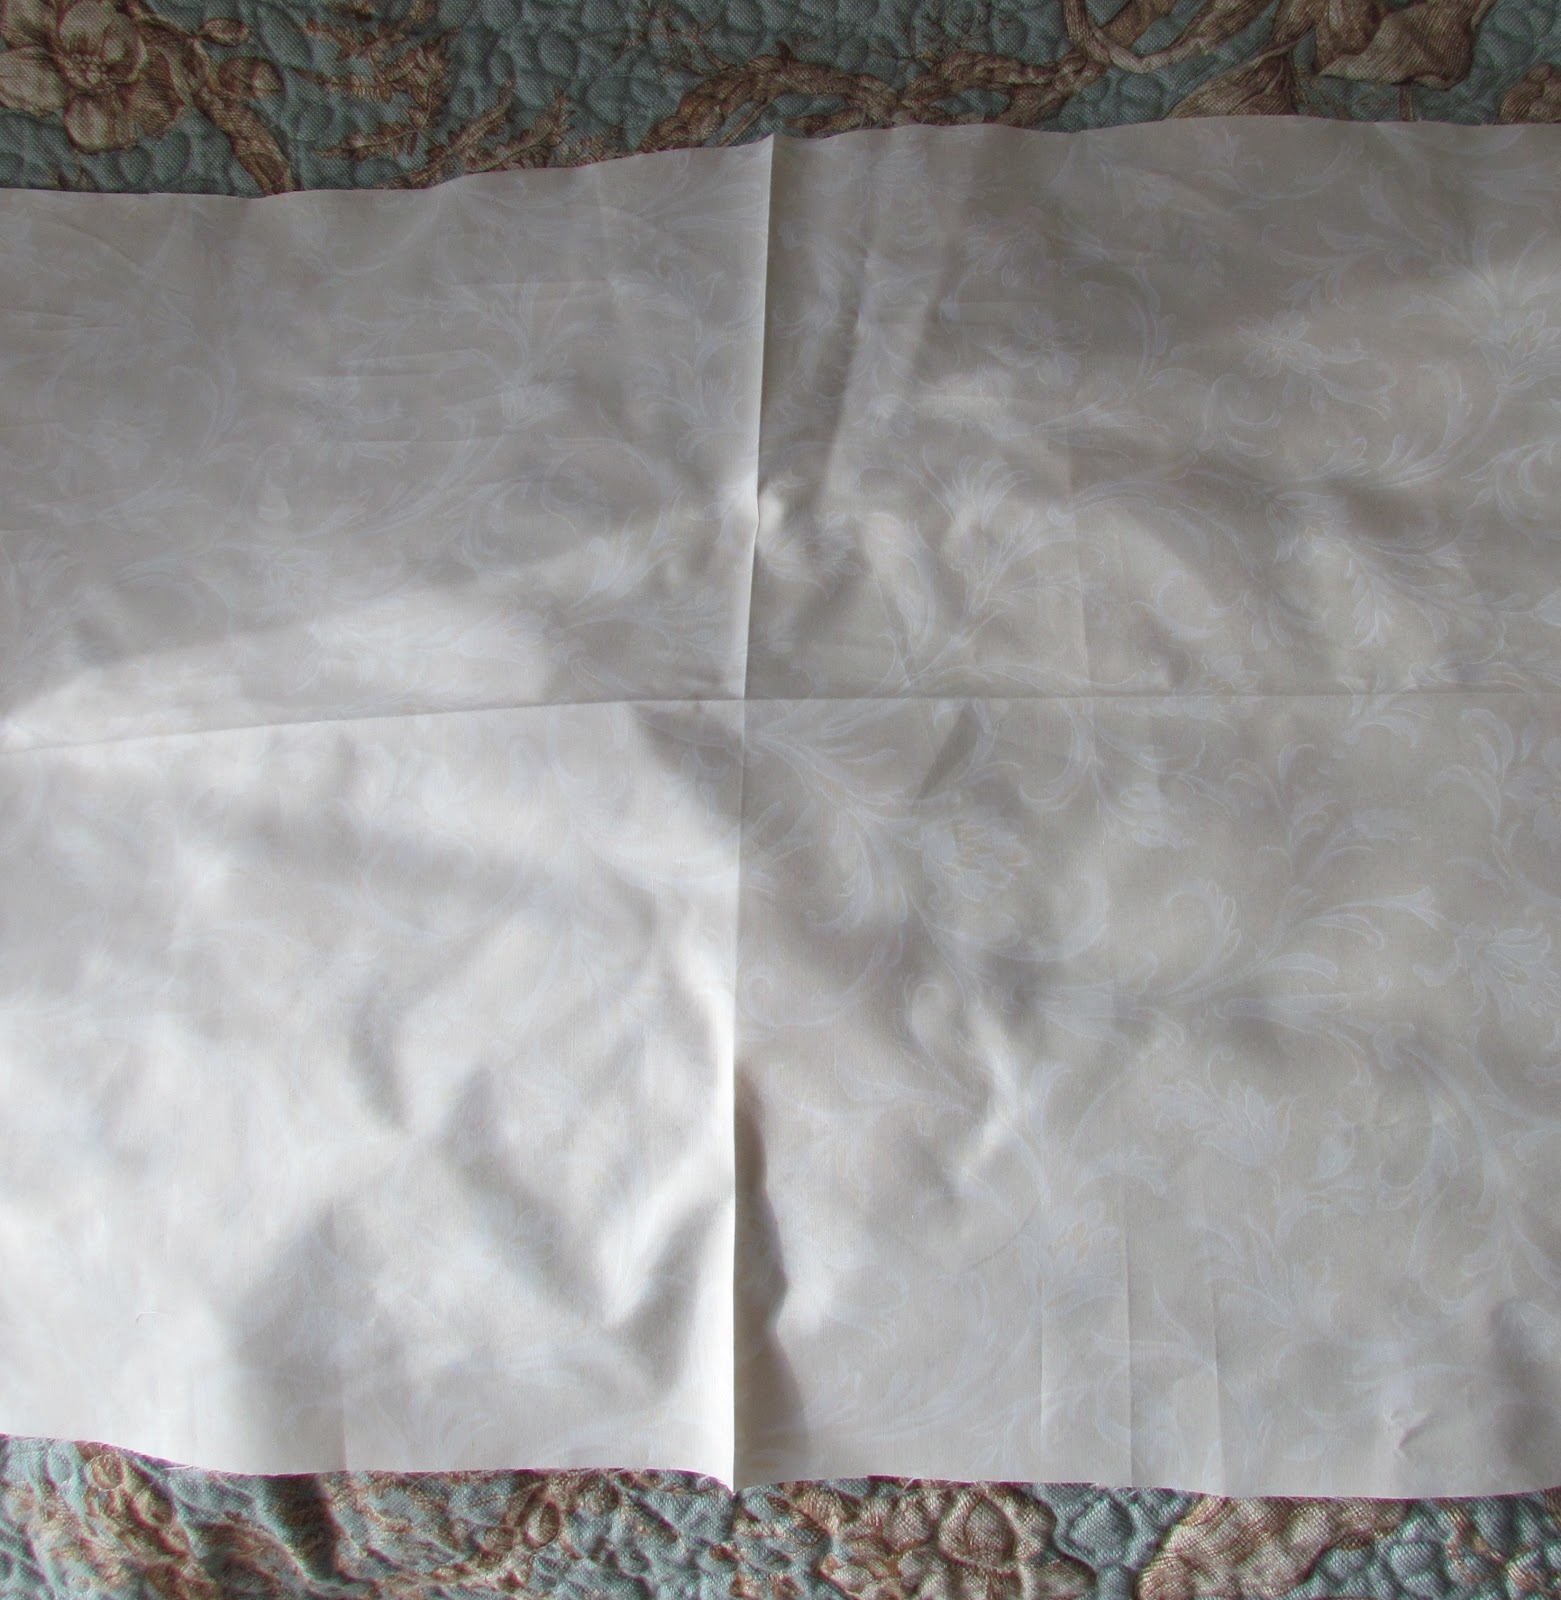
To get the lines straight, I ironed it in the
width and in the length.
For this bolster I used an oval shape to put
on top of the material.

First I stitched some lace in the width on the material.
On both sides of the ironed line.

Hid the seam with some trimming and stitched
the oval into place.


Gathered lace around the oval shape.

Added a second layer.... of-course!
we can never have enough..

Then stitched the long sides together while making sure
the lace and trimming match.
Hemmed the edges.
Ironed it.

I made the insert beforehand,
shorter than the cover.


With the insert in place, I marked where
it would be tied.

I marked each side equally

Then on that line I stitched two layers of lace

Next, to hide the raw edges I stitched on this trim.

Thread a ribbon through and pulled it closed
on both ends.
This is another bolster than the one with
an oval top, I will show that one later..

I received this magazine and Rachel's new book
in the post today, didn't have time yet to look through them.
I had to order the magazine because they don't sell this one here.
I loved the corset on the front page, and had to have it.
My name is Angela and I'm a magazine addict!

I just LOVE this dress!
It has so many pretty details on it, it looks antique
but it isn't, it's brand new!
there was only one in the shop
and it fits me! get this.. it cost me
eleven dirhams...


It made my day...
I hope you have a lovely weekend.
xoxo
Today I will join in with
Angela, you are wonderful, you have given so many tips, using the frame to get the oval, threading the ribbon for a tie, hiding the lace seam....I book marked this one!
ReplyDeleteCarol
Dearest Angela,
ReplyDeleteYou are so inventive and it turns out so pretty every single time. Clever for using the trimming to hide the raw edges!
Love your bargain of a dress; smart deal.
Enjoy it and sending you hugs,
Mariette
Thanks for the tutorial. It is a lovely bolster pillow. I am saving the instructions so I can make one. thanks, Darlene
ReplyDeleteHi Angela,
ReplyDeleteThanks for sharing the tutorial for the bolster.
Yours is so pretty and also love your new dress.
Happy weekend
Hugs
Carolyn
So beautiful! You make it look so easy:)
ReplyDelete
ReplyDeleteWonderful beat ! I wish to apprentice at the same time as you amend your web site, how can i subscribe for a blog web site? The account aided me a applicable deal. I have been tiny bit familiar of this your broadcast provided shiny transparent concept.
mobile application developer
Thanks for the tutorial.
ReplyDeleteShe also tries to make ..
Meraviglioso, come tutte le tue creazioni.
ReplyDeleteTamy